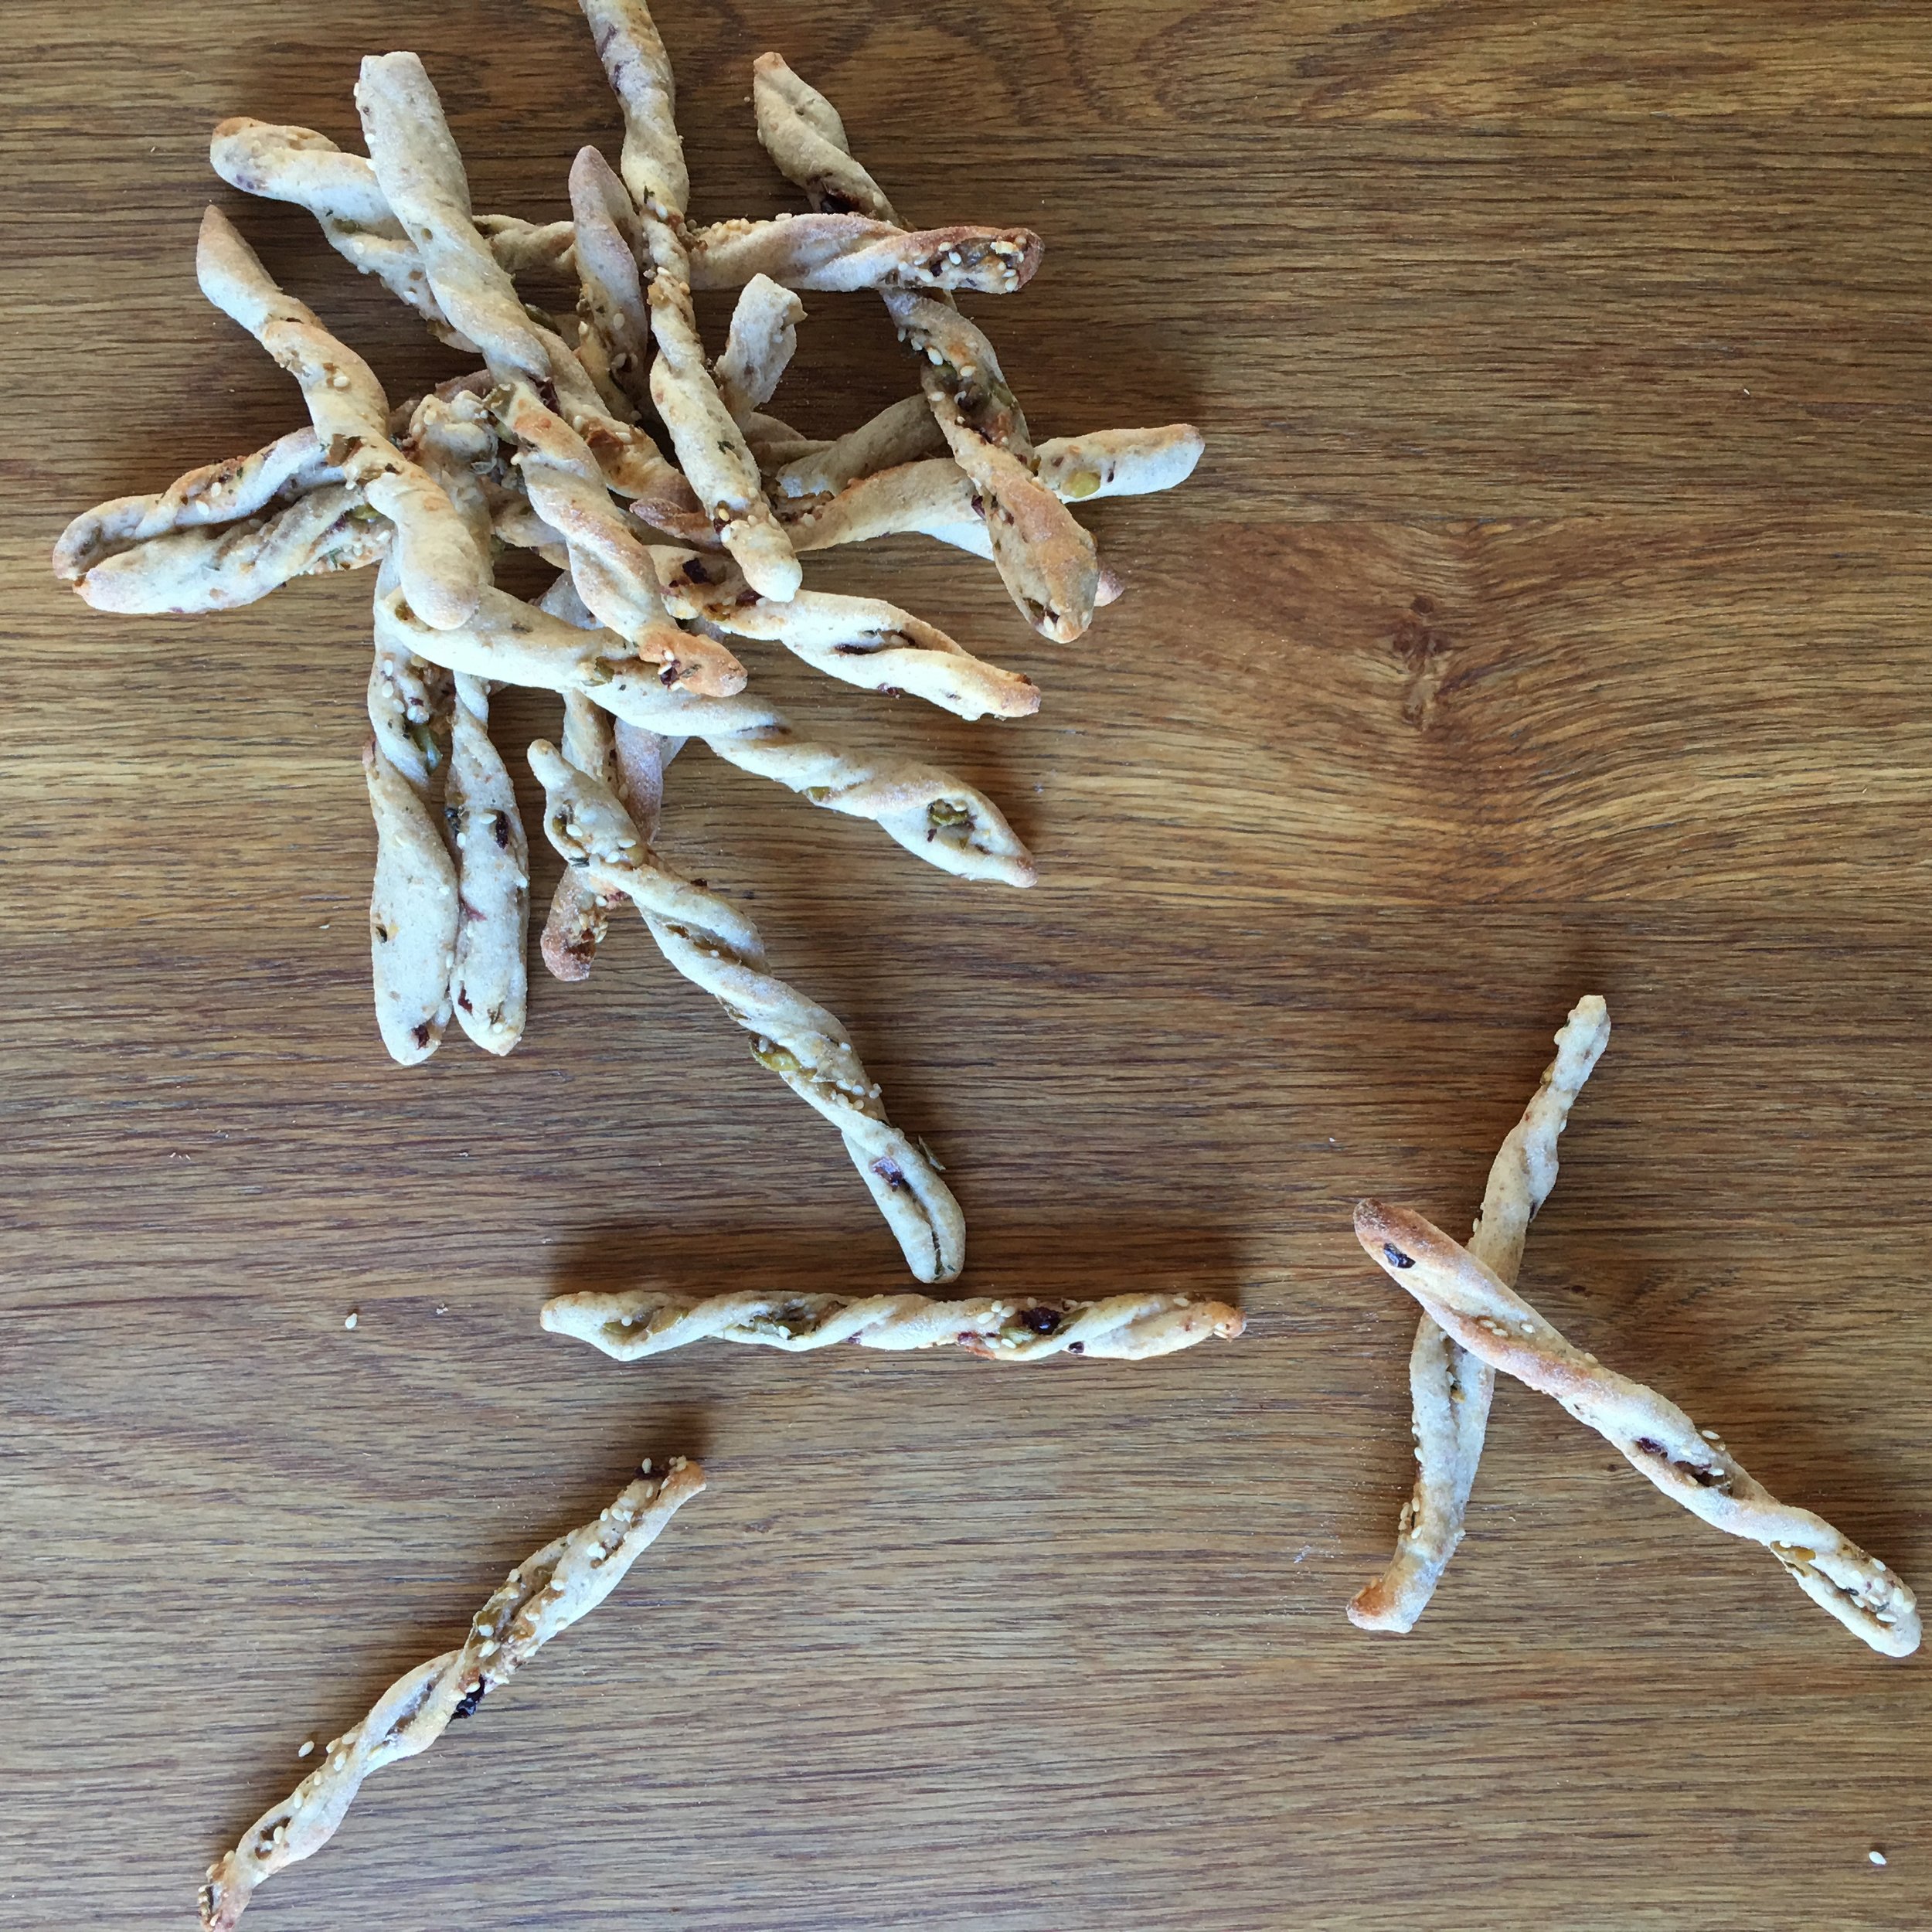
These breadsticks were inspired by a Learn at Home Bread Making course I hosted WAY BACK in the beginning of Bake with Jack. During the course we had a chat about Zataar which I had previously never heard of. It’s a blend of woody herbs, thyme, marjoram, and oregano, with sesame seeds. And it’s delicious.
So for me it was logical to introduce sesame seeds to these rather tasty breadsticks, and they work really well. I made these for a recent bread making demonstration and again for a local wine tasting event in Farnham, and they went down a treat. I cut them quite thin for the wine tasting, as you can see in the photos. But they are lovely cut slightly thicker too, about a finger width wide.
Give them a try and as always, let me know how you get on. This recipe will make one large tray of breadsticks.
Olive and Sesame Breadsticks
Difficulty: Easy
2 – 2.5 hours
Ingredients
For the dough
25g Wholemeal Flour
225g Strong White Bread Flour
5g Salt
8g Fresh Yeast or 4 grams dry easy bake yeast
165g Room Temperature Water
For the filling
100g Olives chopped, I like queen green and kalamata
25g Parmesan, grated
1 tbsp Chopped thyme leaves
2 tbsp Sesame seeds
Method
Weigh your two flours and salt into a large bowl. Weigh the water into a jug. If you are using fresh yeast, pop it into the water to dissolve before moving on to step 2. If you are using dry yeast, it can go straight into the flour bowl
Pour the liquid into the bowl and mix everything together into a dough. Tip it out onto a clean table
Knead the dough on 8-10 minutes, without adding flour. Use a dough scraper to release it from the table if you need to, and bring it back together
Shape the dough into a ball, using a light dusting of flour, and place it back into the bowl. Dust again, cover with a clean cloth, and leave to rest at room temperature for 60 minutes
While your dough rests you can make your filling. Prepare the ingredients in the list above, and mix them together in a bowl
When your dough has puffed up nicely, preheat the oven to 220°C Fan/Gas Mark 8. Dust the table with a little flour and turn the dough out onto it so it lands upside down. It should come out in a circle shape. Press into the dough with your fingertips all over, flattening it out evenly. Stretch out four corners making the dough into a square. Use a rolling pin to roll it out into a landscape rectangle around 40cm by 25cm. You may need a little extra flour for this part. All the time, keep checking that it isn’t sticking to the table or the pin, and dust if you need to
Tip all your filling mixture onto the top of the dough and spread it evenly all over, right to the edges. When it’s evenly spread, press down with your palms to stick it all to the dough
Next, pick up the side furthest from you and fold it one third of the way over the dough towards you. Then pick up the third closest to you and fold it over the top. Use your fingertips to press firmly all over, and stick the dough in place. Dust the top really well
Use a dough scraper to cut the dough rectangle into sticks about as wide as your finger. Pick up the stick from each end and twist in opposite directions before lining up on a parchment lined tray. Give them a little room either side as they will puff up slightly in the oven
When they are all done, no need to rest them again. Bake them straight away for 12 minutes in your preheated oven. Cool on a wire rack


