

SO, as bread goes, a focaccia in its simplest form is one of the easiest to make. There’s no shaping required, it’s just a case of working the dough nicely, allowing time to rest, dimpling, topping, dimpling, waiting and baking
If we have met before at a demonstration or in a class, you’ll know that the development of amazing flavour and texture happens when we do NOTHING. In those resting, or proving, or bulk fermenting periods, or whatever you’d like to call them. THAT’S where the magic happens, and all you need to do is nothing for a bit. Pretty cool hey?
Recently I have been making loads of ciabattas. Not sure why, this is just the way it happens. I’ll have a run of classes or private bookings doing a similar thing, maybe Paul Hollywood made them on the telly recently or something. Ciabattas rely on a pre-ferment to really get going. It’s just a mixture or flour, water and a little yeast that is given the gift of time. This gift allows delicious flavour to develop, and gives the final super wet dough the strength it needs to produce nice big bubbles, the characteristic open texture. Triumph
So, applying this ciabatta principle to a focaccia makes a SUPER FOCACCIA. Unbelievable flavour, light and airy, soft and bouncy, super focaccia.
Up for it? Give it a go.
This recipe will make 1 Super Focaccia, you’ll need a large baking tray, ideally with a raised edge
Difficulty: Tricky
Day 1 - 5 minutes
Day 2 - 3.5 hours
For your preferment:
200g Strong white bread flour
50g Wholemeal bread flour
250g Room temperature water
3g Fresh yeast or 1g dry fast action yeast
For the final dough:
250g Strong white bread flour
10g Salt
125g Room temperature water
25g Olive oil
12g Fresh yeast or 7g dry fast action yeast
For the topping, mix together:
3Tbsp Chopped rosemary leaves
4Tbsp Olive oil
DAY 1
In the evening, mix your preferment ingredients together in a large bowl. I use a whisk to get it nice and smooth. Clingfilm the bowl and leave it on the kitchen side at room temperature
DAY 2
1. Your preferment should have risen up the sides of the bowl It was in. It should be moussy, wobbly, and smelling delicious. Add the extra flour and salt to the bowl, along with the dry yeast. If you are using fresh yeast, dissolve it into the water
2. Add the liquid to the bowl and mix together.
3. The dough will be super wet, so you’ll need to work it in a bowl or mixer. By hand, gather the dough one side of the bowl, the closest side to you. Then, using your hand, or a dough scraper, scoop the dough up, out of the bowl, and plop it back down in a circular motion. Do this for 5-6 minutes. Or, work the dough in a machine with a dough hook for 4-5 minutes on slow speed. Pour out the dough into a lightly oiled, rectangular box, cover with the lid or cling film and rest for 45 minutes
4. Oil your hands, and carefully slide them underneath the long sides of the dough, lift the dough from the middle, and fold each end of the dough under itself. Line a baking tray with parchment, oil the paper with a drizzle of olive oil, and slide the dough out of the box onto the lined tray
5. Oil the top of the dough slightly, and rest for 45 minutes
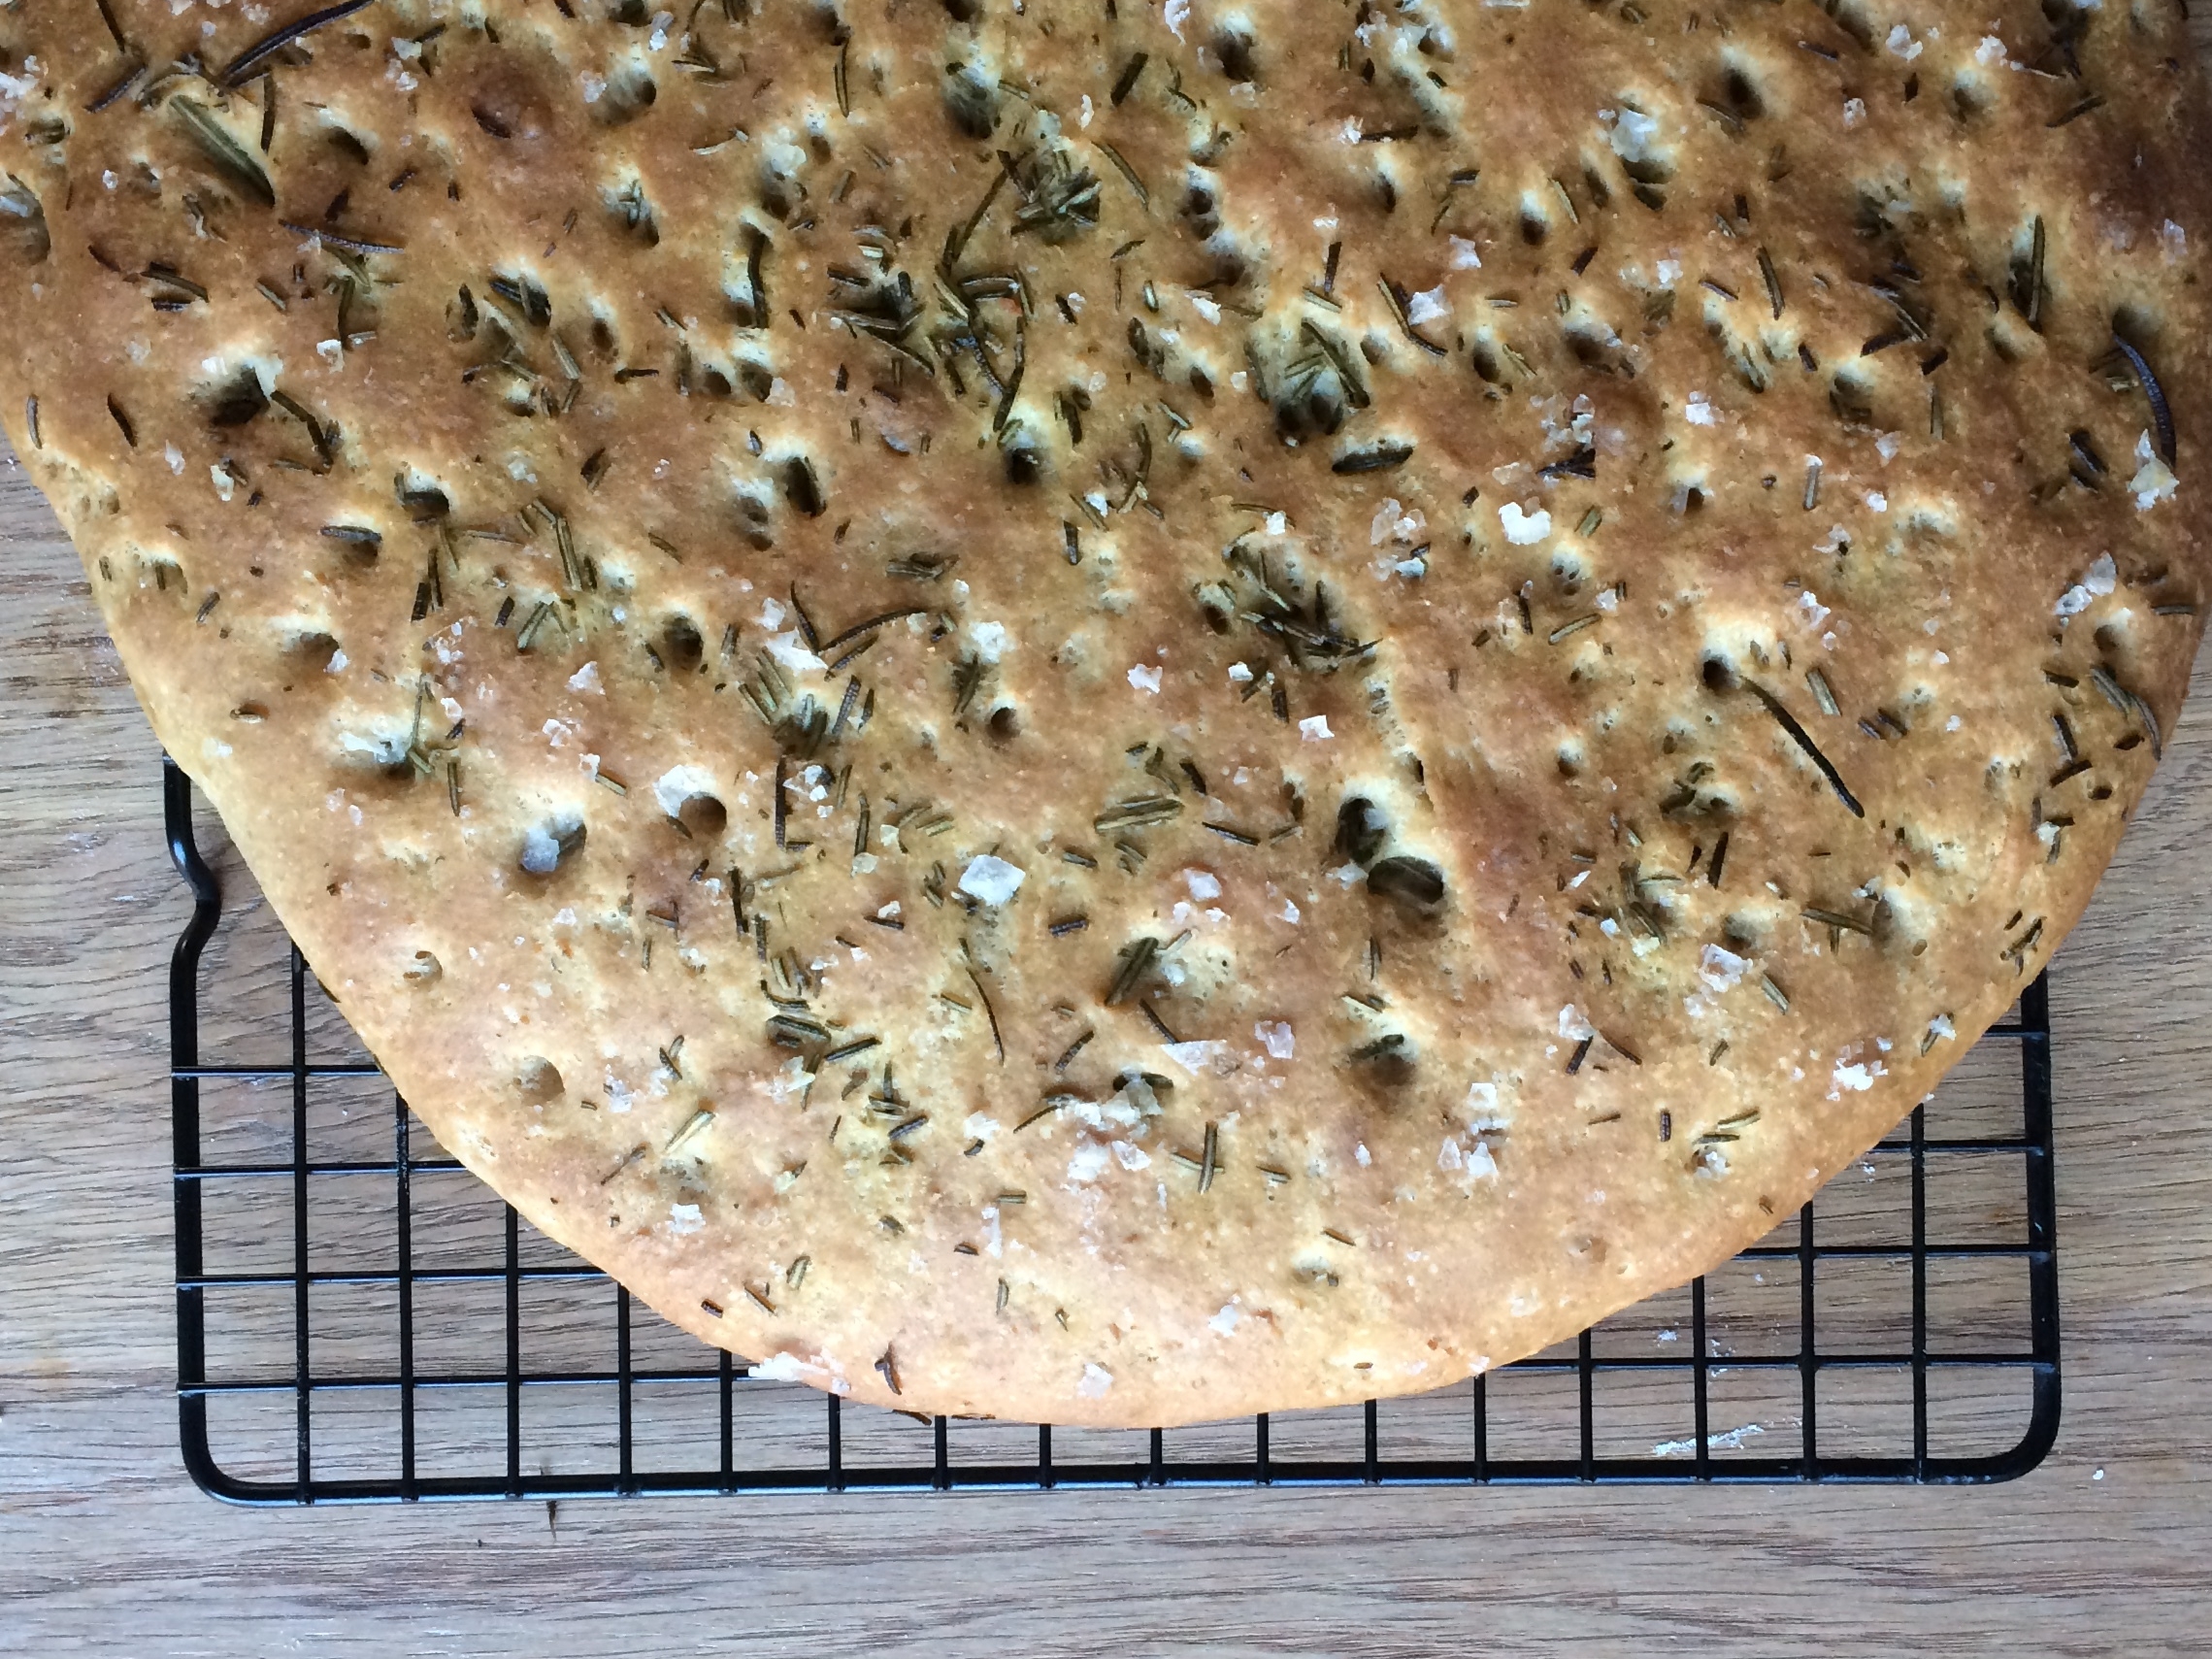
6. Spread the rosemary oil all over the top of the dough, and dimple in by pushing your fingertips right to the bottom of the tray, all over, flattening and dimpling the dough

7. Preheat the oven to 200°C Fan/Gas Mark 7 while the dough proves up again for 45-60 minutes.
8. Just before baking, sprinkle the top lightly and evenly with sea salt flakes or rock salt
9. Bake for 30-35 minutes, lift the edge of the bread with a knife and peep underneath. When the whole underside is golden, the bread is ready. Allow to cool completely on a wire rack
I LOVE to see your snaps, if you have a go at this recipe get in touch and let me know how you get on