

We ALL saw the cottage loaf on the Great British Bake of this year, and it was less than a success, but it is much trickier to make a good one than you might think!
The cottage loaf is all about building structure into the dough and creating the right amount of tension. Sure, my cob loaf recipe that many of you have tried has to have tension built across the top to keep a good shape, but you can get away with it being a little uneven. The majestic cottage on the other hand, has got to be BANG ON because it is essentially a cob with a baby cob balanced on the top. Tricky!
If the structure of the base isn’t completely even all the way around then then that little chappie on top might just sway to the side, and maybe even fall off!
One more thing to mention is to stay alert while that final shape is proving. You MUST keep your eyes peeled when your proving because to get a tall and proud cottage loaf you need to bake It at just the right point. The perfect point to bake this one comes and goes so fast! Remember, that top part is heave and as the dough becomes delicate the weight of the top can cause your beautiful loaf to flatten in a matter of 5 minutes.

Cottage Loaf
Difficulty: Essentially easy dough, perfect shaping is tricky.
3 hours
Ingredients
100g Wholemeal Flour
400g Strong White Bread Flour
10g Salt
12g Fresh Yeast or 1 x 7g sachet of dry easy bake yeast
300g Room Temperature Water
25g Room Temperature Butter
Method
Place a large bowl on your scales and weigh out your white flour. Zero the scales and weigh your wholemeal flour on top, and then do the same with the salt.
To the bowl add your 25g of butter and break it up into small pieces. Many recipes call for you to rub it in at this point, but it’s not really necessary, small pieces will be fine.
Weigh your room temperature water into a jug. If you are using fresh yeast, pop it into the water to dissolve before moving on to step 4. Or, your 7g sachet of dry yeast can be popped into the bowl with the flour.
Pour the liquid into the bowl and use a dough scraper to mix everything together. When it all comes together into a relatively firm dough, turn it out onto the table.
Knead the dough for 8 minutes on a clean surface, without dusting with any flour. You’ll get sticky butter spots on the table every once in a while, so bring everything together nicely, scraping the table with the flat side of your scraper as you go along.
Next, with the slightest dusting of flour on the table, shape the dough into a ball, and place it back into the bowl. Dust the doughs surface lightly, and cover the bowl with a clean cloth. Allow 60-90 minutes for your dough to rest and rise, developing flavour and texture.
When your dough has puffed up nicely, dust the table with a little flour, turn the dough out onto it, and press with fingertips and knuckles to knock the gas out really well.
At this point your dough will probably weigh around 840g. You’ll need 1/3 of your dough for the top part of your cottage loaf, so use your scraper to cut off a 280g piece. You can check this on the scales if you like, and adjust if you need to.
Now each piece must be shaped into a tight ball. Start with the large piece and pick up the furthest side of the dough with your thumb and finger, lift it over the top towards you and press it down to stick back to the dough just shy of the edge. Turn the dough 45 degrees and do the same. With every fold you make you’ll notice the next piece poking out which is the next piece to fold over. Keep turning the dough and folding towards you until it becomes a really quite tight ball. Roll it over so the smooth and tight side is on the top and the seems are underneath.
Cup your hands, palms up, and tuck the dough underneath itself from both sides giving the ball a little turn as you do so. Keep tucking and turning to neaten it up, then shape up the smaller ball.
Dust each ball nicely with flour and pop the small ball on top of the big one. Take your time at this point to make sure the small ball is EXACTLY in the centre, look at the loaf from all angles and adjust it if you need to before you commit to sealing them both together.
Dust your thumb with flour and place the tip vertically in the centre of the small ball on top. Push down through the whole loaf right down to the tray to join the two and whip your thumb out smoothly.
Place your shaped loaf onto a tray lined with parchment paper, very loosely cover with a cloth and set a timer for thirty minutes while it proves up.
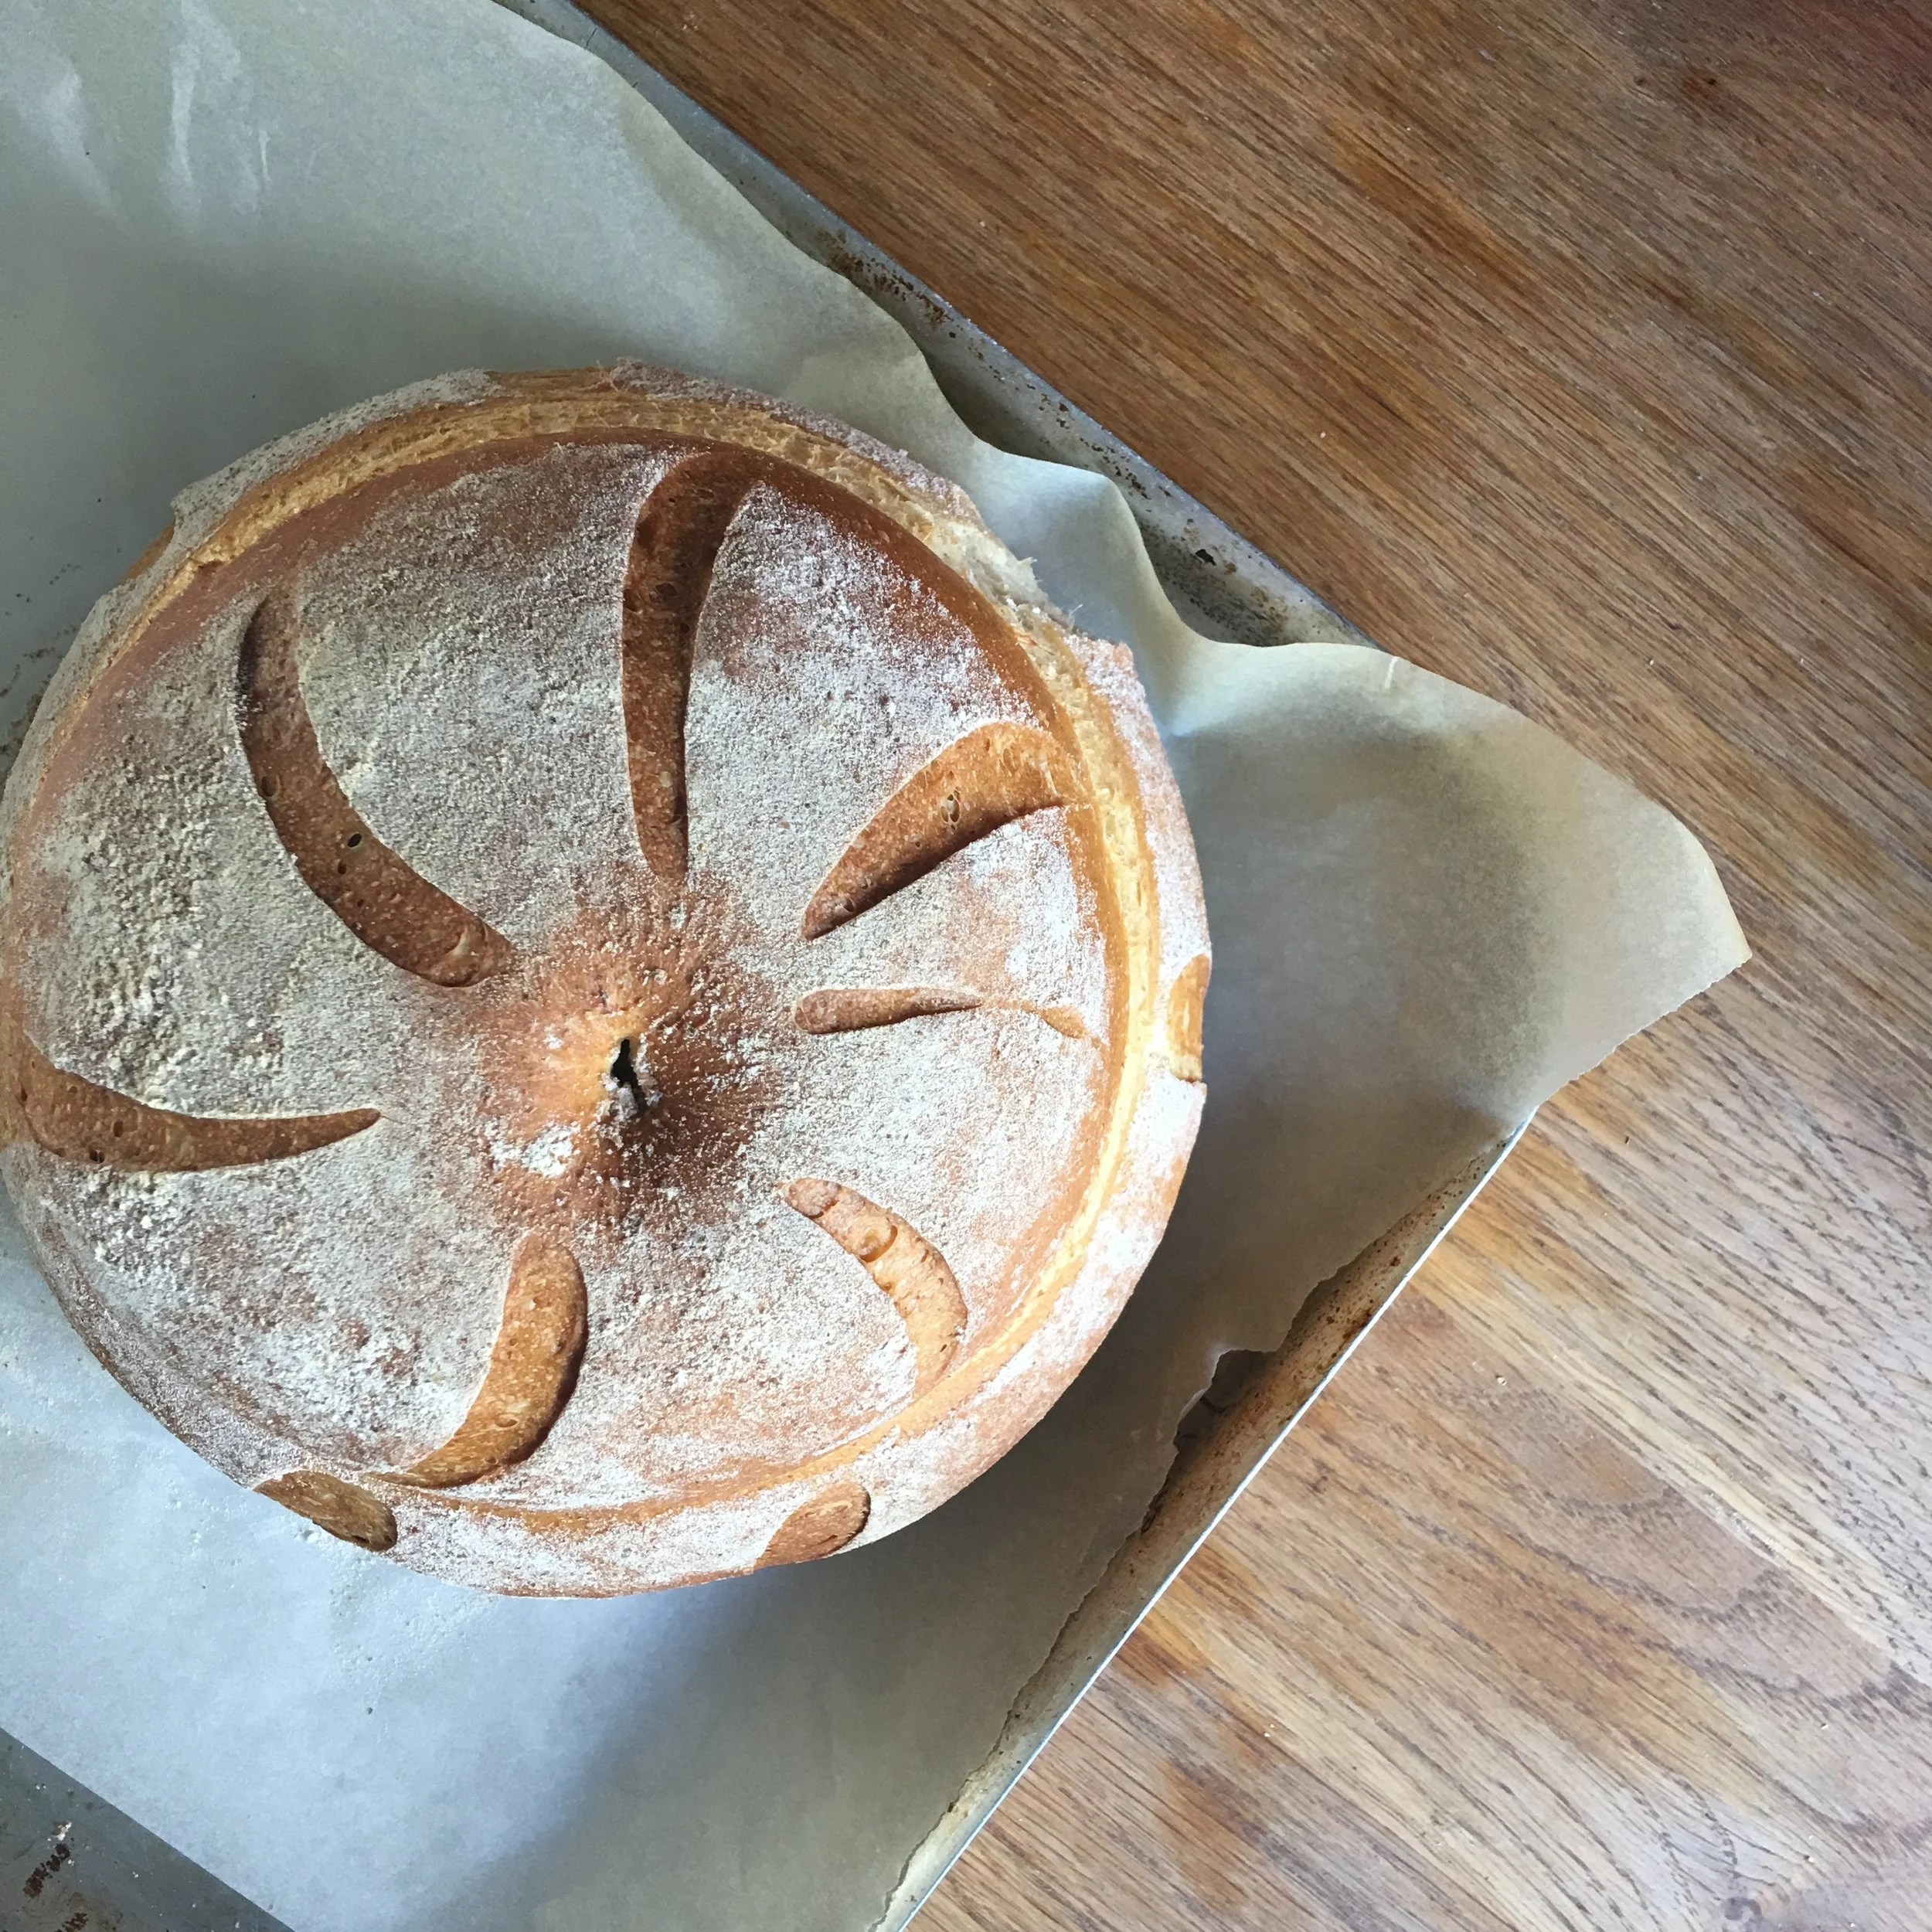
After the thirty minute mark the dough should have risen slightly but still have a good bounce when you press it with a finger. Now is a good time to make cuts around the edge with a grignette before it gets to delicate.
Leave the cover off the dough to prove up a little longer, and at this point you can preheat the oven to 220°C Fan/Gas Mark 7 with a deep tray in the bottom
It will probably be another 15-25 minutes before it is ready to bake, and it’ll take longer on a cold day. The dough should only very slightly start to get delicate, then it is ready. Boil a kettle of water.
Carefully place your cottage loaf into the oven, pour about 1cm deep of water from the kettle into the hot tray and shut the oven door. Bake for 20 minutes and then turn down the heat to 190°C Fan/Gas Mark 6 and bake for a further 15-20 minutes.
Tap the base for a hollow sound and that’s when you know it’s fully baked. Then cool completely on a wire rack before slicing.
